Wood Trim & Dashboard Restoration: Burr Veneers, Lacquer Chemistry & Substrate Repair
Natural timber cabinetry forms the visual centerpiece of heritage luxury automobiles. Discover how book-matched veneers are saved from heat checking, milkiness, and delamination.
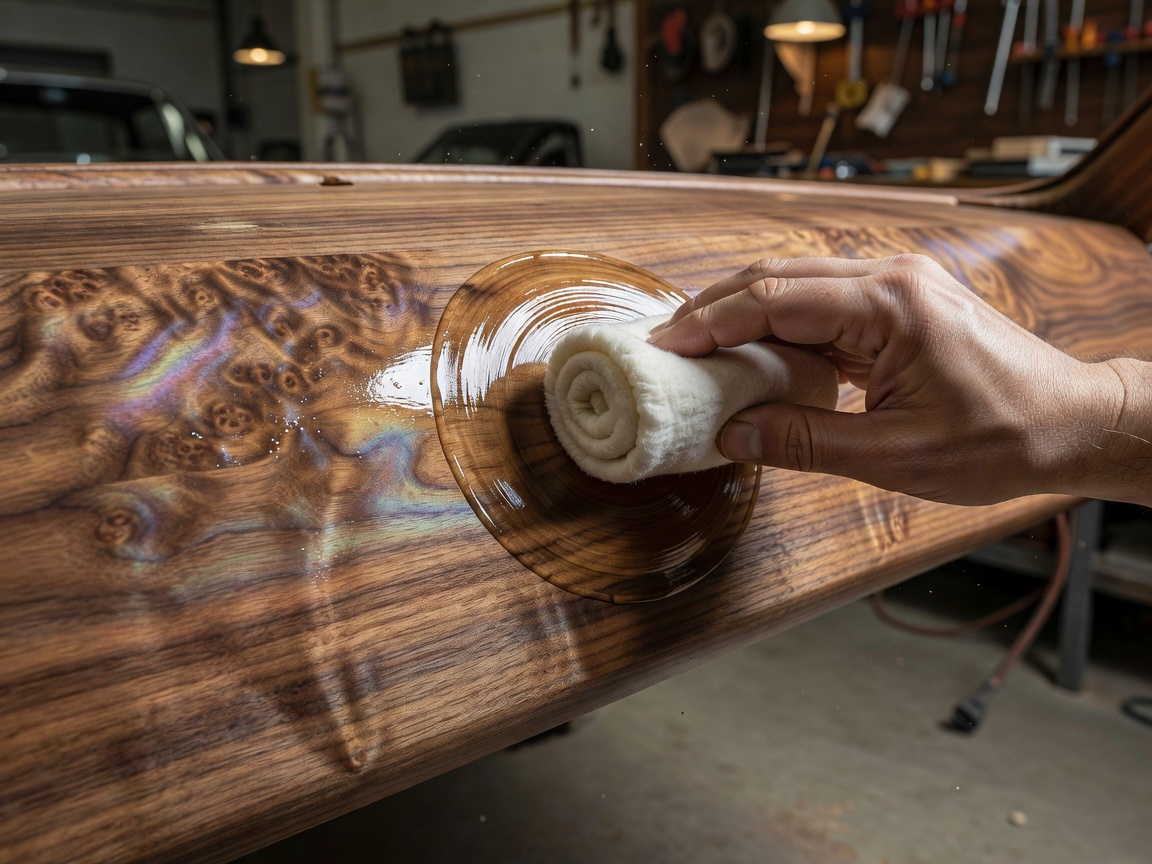
The Construction of Automotive Timber Capping
Unlike household architectural woodwork, automotive timber trim is engineered to withstand violent vehicle vibrations, severe humidity shifts, and solar heating behind curved glass windscreens. Rare burr wood (such as California Walnut, French Walnut, Zebrano, Birdseye Maple, or Macassar Ebony) is sliced into ultra-thin veneer leaves—typically only 0.5mm to 0.8mm thick.
These leaves are glued in mirror-symmetrical “book-matched” layouts over formed aluminum, stamped brass, or curved multi-layer marine plywood backing plates. Understanding this composite construction is critical: wood expands and contracts across its grain with moisture changes, whereas metal substrates do not. When internal adhesive bonds fail, the veneer splits or separates.
Failure Modes: Checking, Clouding & Veneer Lifting
Automotive wood fascias typically experience three distinct forms of deterioration:
- Polyester Lacquer Clouding / Whitening: From the 1970s onward, manufacturers favored thick, high-build polyester lacquers. Over time, microscopic moisture migrates through hairline fractures, causing the lacquer to lift from the wood surface and scatter light, resulting in a milky, opaque haze.
- Thermal Spiderweb Cracking: The rigid polyester coating has a different coefficient of thermal expansion than the underlying wood and metal backing. Repeated solar heating cycles cause the lacquer to fracture in brittle, glass-like spiderwebs.
- Veneer Curl and Peeling: When edge sealants dry out, ambient humidity enters the edge of the panel, causing the fragile veneer to curl away from the substrate. If snagged, pieces of irreplaceable historic timber can snap off completely.
The Multi-Step Refinishing & Veneering Process
Restoring a complete set of vehicle woodwork—including the instrument fascia, center console, door cappings, and picnic tables—demands an exacting, non-destructive sequence:
| Step | Methodology | Technical Objective |
|---|---|---|
| 1. Chemical Stripping | Controlled solvent immersion or gentle heat softening to lift old polyester without scraping the fragile wood layer beneath. | Avoid sanding through 0.6mm paper-thin veneer during finish removal. |
| 2. Substrate Repair & Regluing | Injecting structural thermosetting or aliphatic resin adhesives beneath lifted veneer and clamping under heated vacuum presses. | Flatten curling edges and permanently anchor wood to aluminum or multi-ply backings. |
| 3. Color Harmonization | Applying alcohol- or water-soluble aniline wood dyes to reverse solar bleaching and ensure uniform tone across all cabin panels. | Match individual door cappings to the central instrument facia. |
| 4. High-Build Finishing | Applying 8 to 12 coats of high-solids, UV-stabilized polyurethane or polyester finish in climate-controlled spray booths. | Provide optical depth, chatoyancy, and deep solar UV resistance. |
| 5. Wet-Sanding & Rotary Polish | Progressive wet-sanding from 1000 down to 3000 grit, followed by compounding with diminishing abrasive pastes. | Eliminate “orange peel” and achieve a mirror-flat, distortion-free optical reflection. |
Padded Dashboards & Vinyl Skin Repair
Not all dashboards feature exposed timber. Many 1960s through 1990s GTs utilize padded safety dashboards made of molded semi-rigid urethane foam covered in vacuum-formed polyvinyl chloride (PVC) skins. With years of solar baking, plasticizers leach out, causing the vinyl skin to shrink and crack violently around defrost vents and instrument cowls.
Restoring a cracked vinyl dashboard involves grooving out the brittle fracture, stabilizing the underlying foam with flexible urethane structural fillers, hand-texturing the grain to match the original pebble pattern, and finishing with elastomeric automotive vinyl dye. Alternatively, for high-end bespoke restorations, craftsmen frequently wrap the entire dashboard in hand-stitched Connolly or semi-aniline hide with French-stitched seams.
Good For / What to Know
Recommended Practice:
- Always restore all cabin wood pieces as a complete matched set to prevent color mismatch.
- Use specialized UV-filtering clear coatings to guard against future solar bleaching.
- Label and bag all instrument retaining brackets, shims, and earth ground wires carefully.
Crucial Safety Boundaries:
- Never attempt dashboard disassembly without disconnecting the vehicle 12V battery.
- Airbag modules and pyrotechnic passenger restraints require certified technician servicing.
- Do not use open flame heat guns on delicate vintage veneers.
Consult on Veneer & Dashboard Repair
Discuss grain matching, lacquer de-clouding, or bespoke hide dashboard re-trimming.
Inquire With Our Studio